
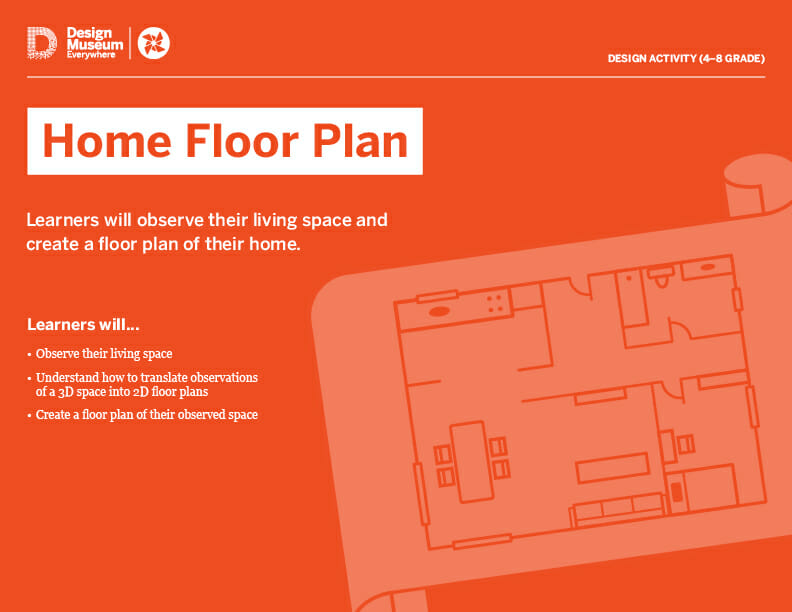
Home Floor Plan
Design Activity (4-8 Grade)
Learners will observe their living space and create a floor plan of their home.
Learners will…
-
Observe their living space
-
Understand how to translate observations of a 3D space into 2D floor plans
-
Create a floor plan of their observed space
Share your draft floor plans on social media with #DesignTogether and we’ll feature examples in our Design Together online gallery.
INSTRUCTIONS
-
Before starting, gather some materials. You will need paper (graph paper, if you have any), pencil, ruler or hard edge (optional), and a tape measure (optional).
-
Begin by discussing what floor plans are (see background for definition).
Sample Questions: What do you think floor plans are used for? Why might floor plans show the above view instead of a different view? -
Look over the floor plan examples provided. Ask your learner what they notice about the floor plans—How are different building features like walls, windows, and doors shown? What do the different symbols mean?
-
Once they feel comfortable with the general structure of a floor plan, have your learner choose a room in your home to observe. Ask your learner to walk around and observe that room, making note of where walls, windows, and doors are placed, as well as their sizes—are there certain walls or windows that are longer than others? Where are they?
Encourage your learner to record their observations by writing notes and making sketches. -
After they have finished observing, challenge your learner to draw a free-hand sketch of the floor plan of the room they just observed. Allow them to move around and make more observations as they draw.
Extra Challenge: Add furniture and labels to the room. -
For older students: After the initial sketch, have them draw the sketch, have them use the tape measure to measure the dimensions of the room and locations of doors and windows. Ask them to write the measurements down on the sketch. Then help your learner convert the measurements to a smaller scale. The simplest way would be to do a “1 foot equals 1 cm” scale, ex. a 20 foot long wall would be 20 cm. However, feel free to play around with different ratios and metrics.
Note: If you don’t have a tape measure, your learner can measure with steps (ex., count how many steps it takes to cross the room). -
Once everything has been converted, challenge your learner to draw the newly scaled drawing using a ruler. If you don’t have a ruler, you can print out a paper ruler or have your learner use their fingers. For example, 3 steps is equal to the width of 3 fingers.
-
Discuss the end results together.
Sample Questions: What was difficult? What new things did you learn or notice about the room? -
Once they are satisfied with the room floor plan, challenge them to draw the floor plan for the rest of the home!
WHAT’S A FLOORPLAN?
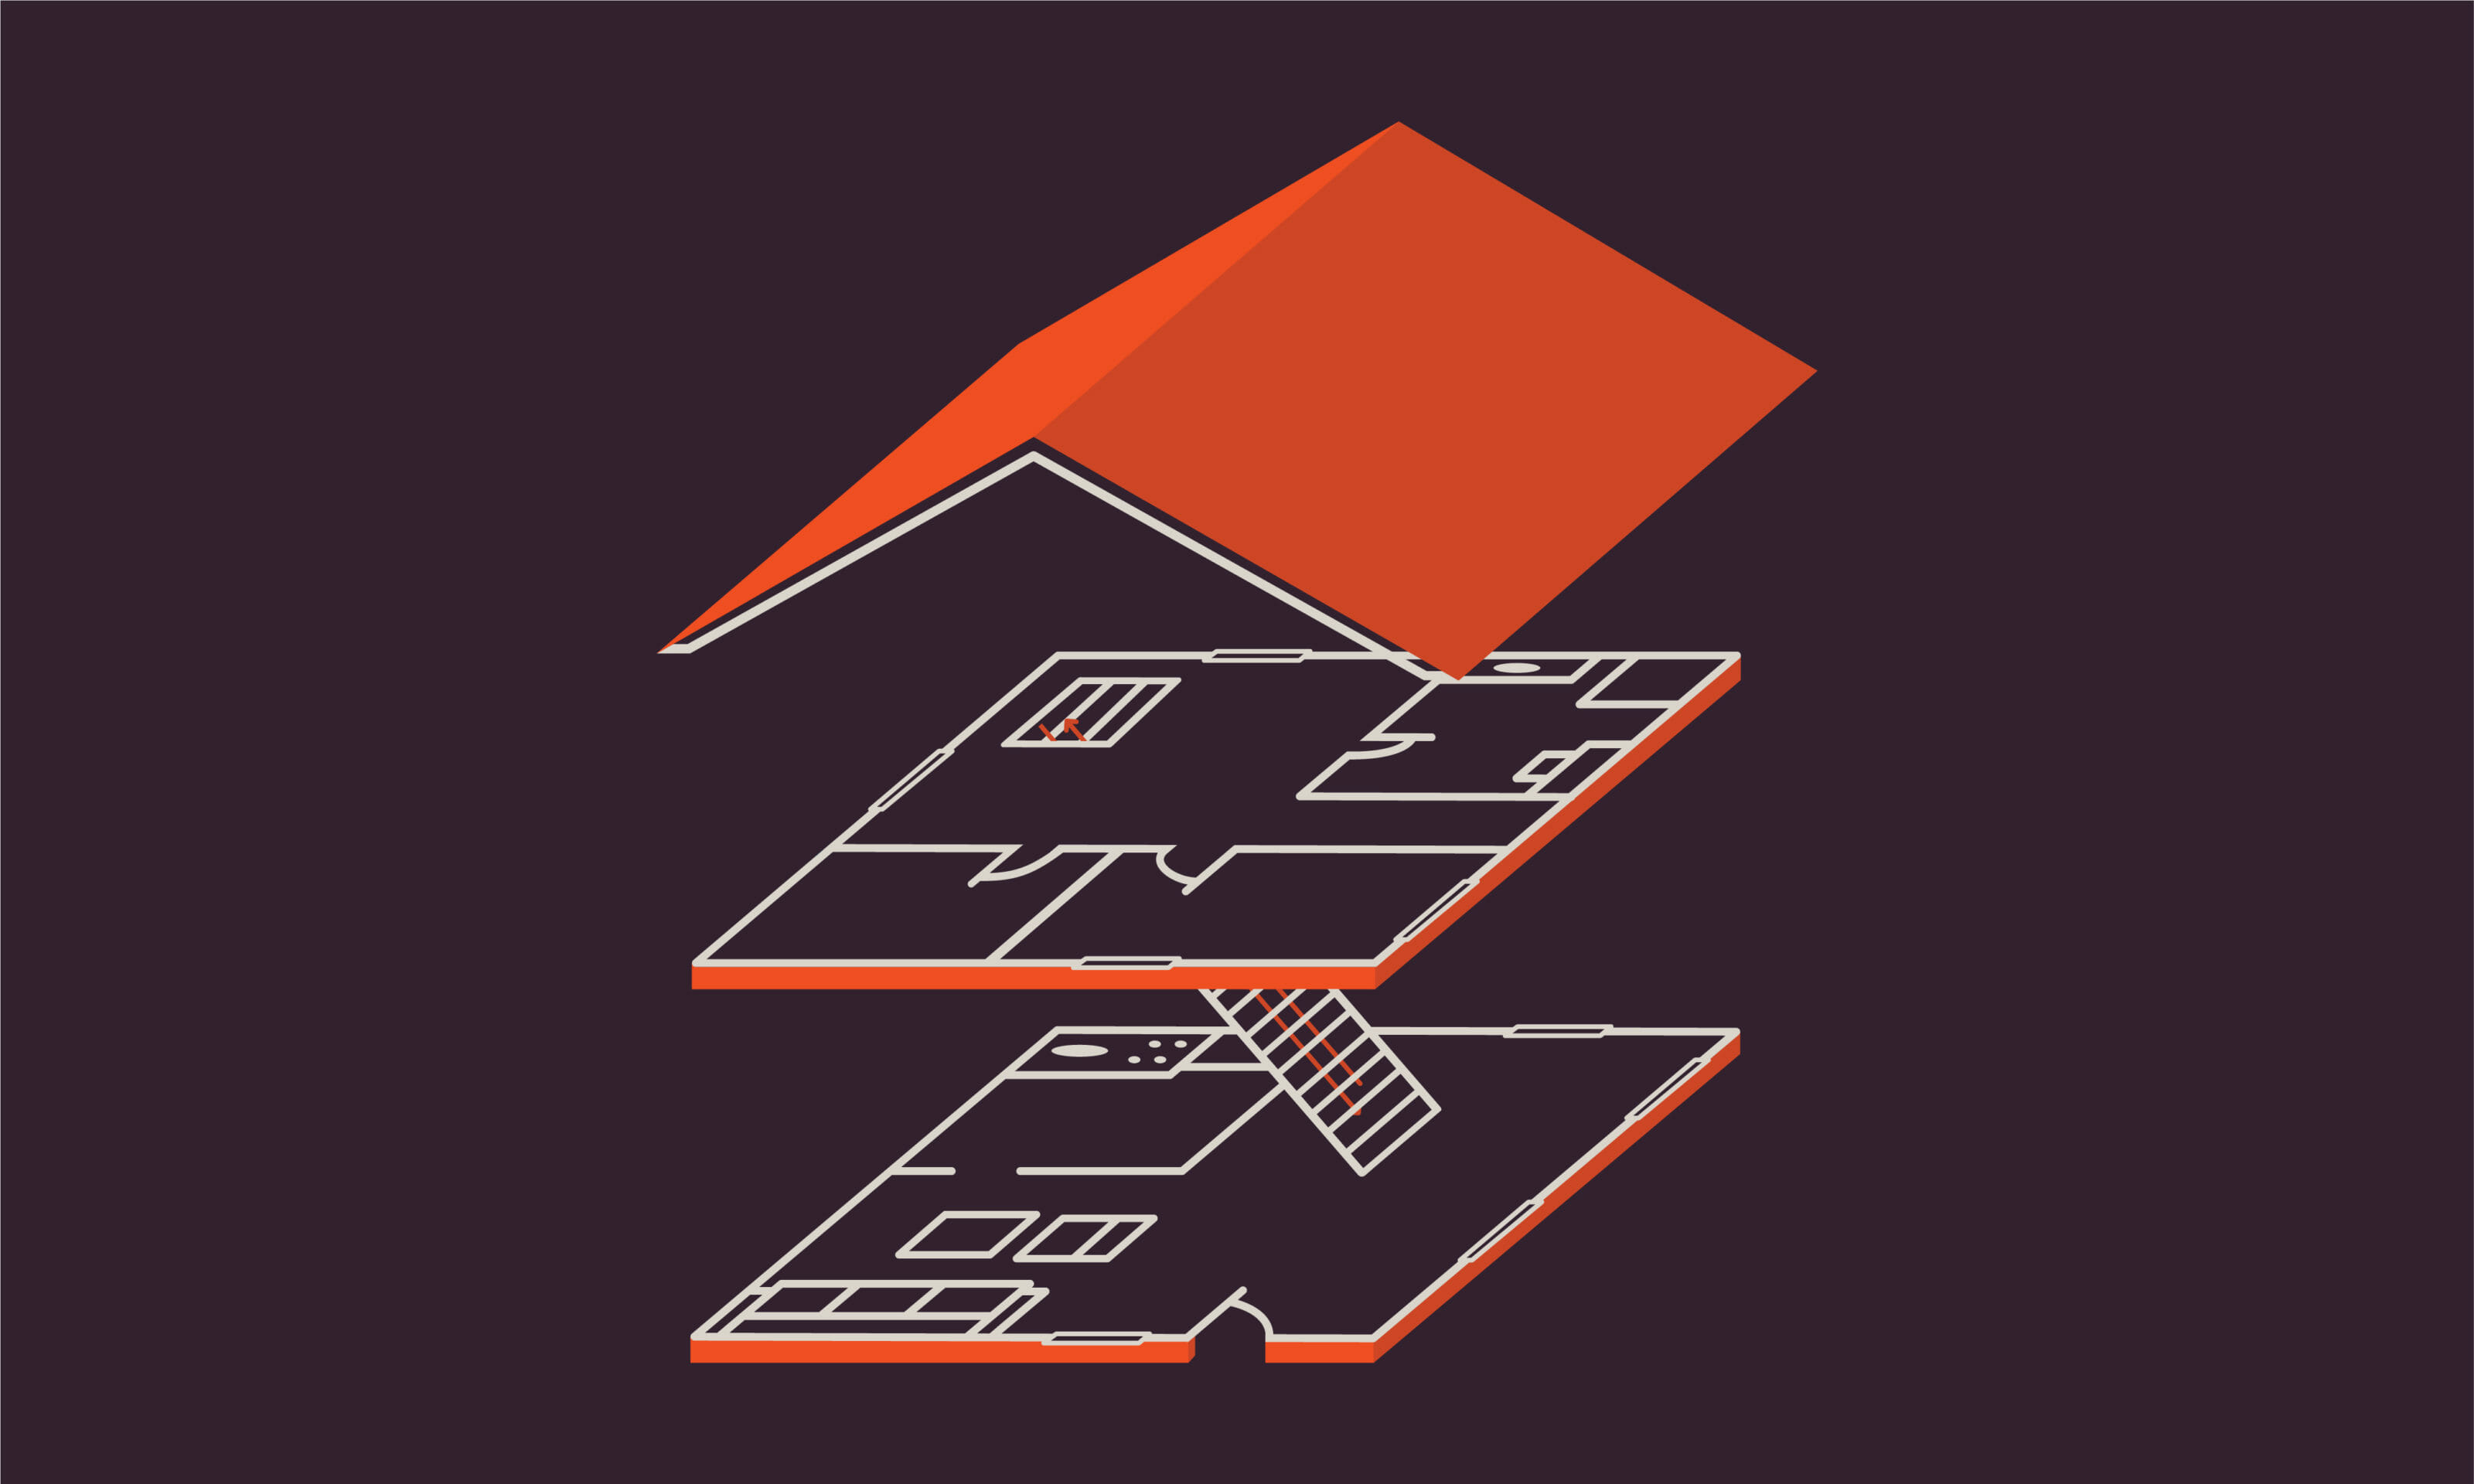
A floor plan is a scaled diagram of a building or room shown from above. It shows the placement of rooms, doors, windows, walls, and other building features as needed. They can be drawn by hand, or made using software, Older students can explore free online floor plan tools such as Autodesk Homestyler and RoomSketcher.
Floor plans are helpful for understanding the layout of a space, including placing furniture, planning appliances, and showing living spaces to prospective buyers or renters.
Note: Floor plans use different symbols to signify different building features such as windows and doors. The symbols may vary slightly across designers, but must stay consistent within a single floor plan.
View floor plan examples in our downloadable PDF.
SUGGESTED FLOOR PLAN SYMBOLS
The purpose of a draft stopper is to stop the flow of air into or out of a space where it is unwanted. You can make them out of almost anything, but the next three pages have examples of a few and instructions on how to make them!
Download a printable version of the entire activity.
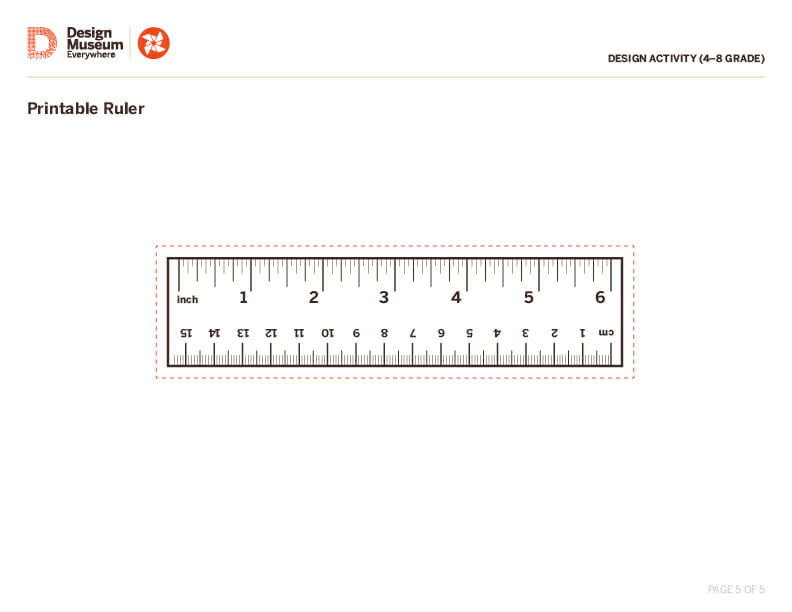
Download our printable ruler.