ONLINE EXCLUSIVE
Designing Sandals in Low-Tech 3D
By Mark Paigen, Owner, TreadLabs
The process of creating new footwear is separated into the design phase and the development phase. In the design phase, shoes are drawn, usually in 2D on a computer, and the most appealing designs are selected for development. In the development phase, materials are sourced and assembled to make wearable samples. The construction process varies depending on the type of the shoe. If the design includes molded components, like rubber soles, molds need to be made before the shoe can be completed. Iterations are completed, with changes made to design, materials and color until the final prototype is approved for production. The process can be time consuming and expensive. Optimizing the process can make or break a new company’s entrance into the market.
My passion is sandal design. More specifically, sandals at the intersection of performance, comfort and a clean aesthetic. I have found these sandals to be more challenging than closed footwear (shoes and boots) for several reasons.
First, a closed shoe covers the whole foot. Full coverage makes it easier to hold the shoe to the foot in comfort. With a sandal, the straps must be more carefully placed to work with the anatomic features of the foot. And, without the laces of a shoe, adjustment must be designed in a way that is effective, clean and long lasting. Finally, sandal designs need to look good on a real foot. Without the enclosure of a shoe, the upper must compliment the foot, not hide it.
Because sandals are harder, it is especially important to refine the process to reduce unnecessary spend. Here is a low-tech, but effective process for sandal design. I have found that starting in 3D saves several iterations from the process, speeding time to market and saving resources. In a 2D drawing, it is easy to draw things that either can’t or don’t work. A outside (lateral) side view or an inside (medial) view in 2D can look great but not accurately depict what happens on top of the foot. Working in 3D also gives you the full picture, as holding the 3D model and seeing the whole design at once forces accurate design. It also demands an increased focus on anatomy; drawing straps is easy in 2D. They can go wherever you like. On a 3D mock-up with key anatomical points mapped, straps must be right.
The Process
Here is the process in pictures:
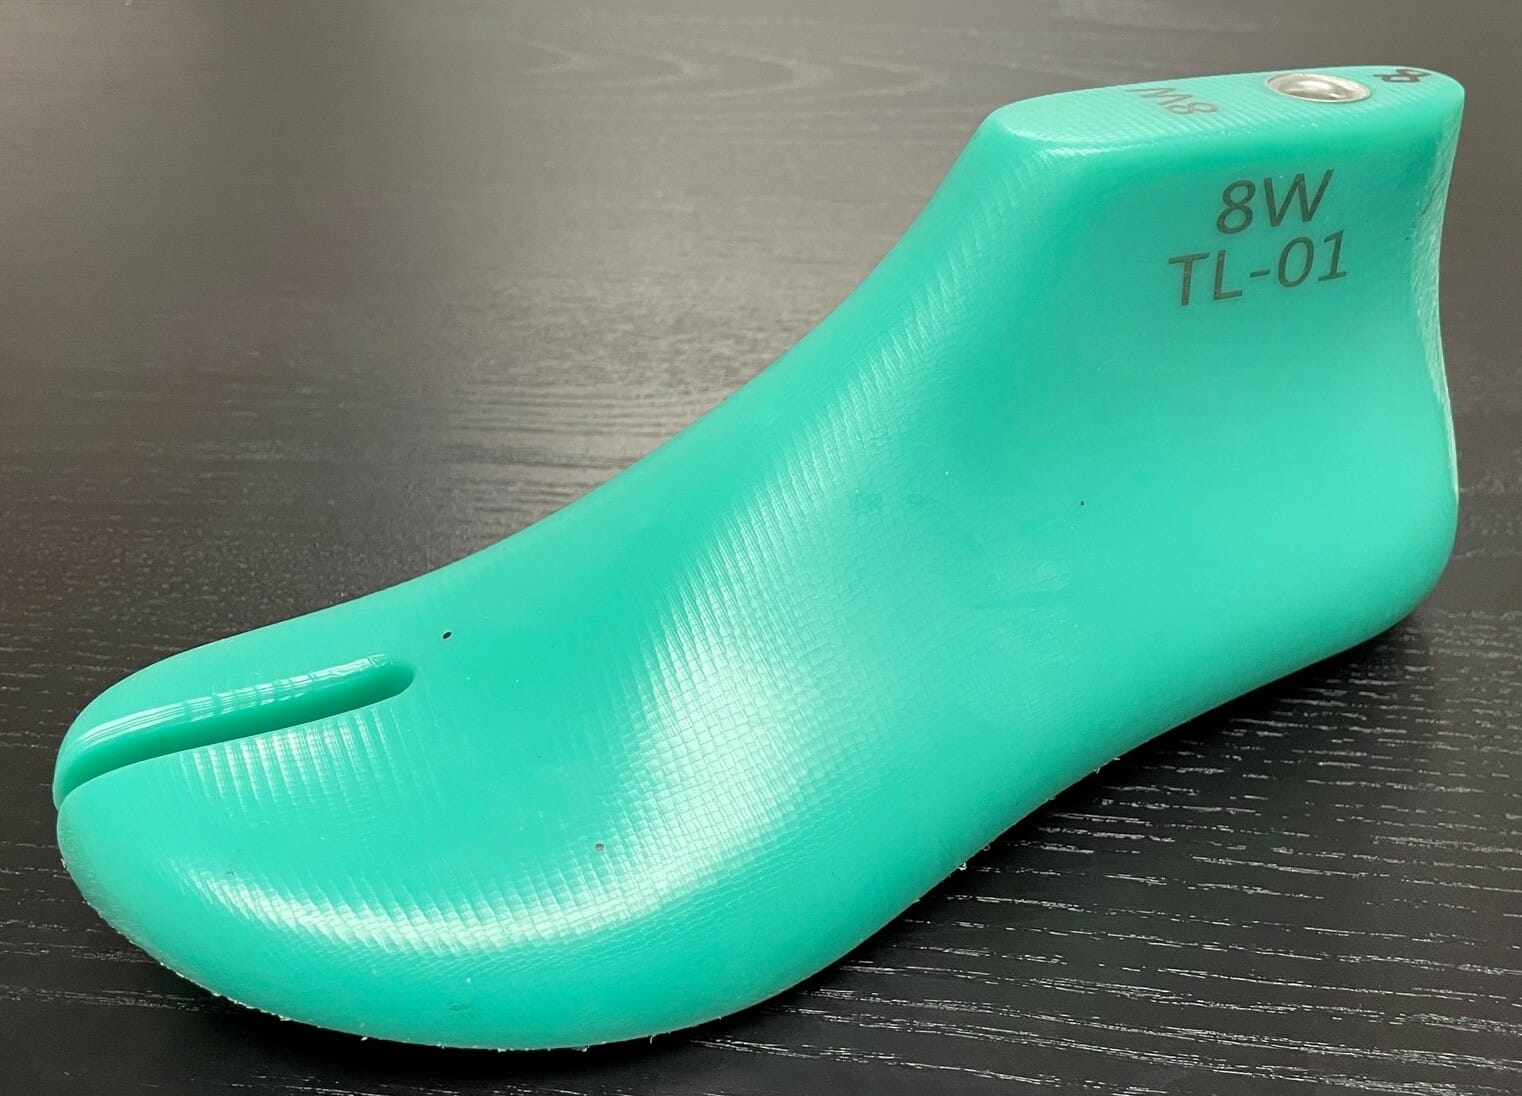
Here is a last. It is the form on which shoes and sandals are built. These solid forms used to be made of wood. Now most are plastic, turned on a last making lathe. They come in thousands of sizes, widths and styles. Developing the right last for your project is challenging, usually the best way is to find a last that is close to what you need and modify it. If you are working on sandals, make sure you use a sandal last as they are substantially different from shoe lasts. The last pictured here has a cutout so that thong styles can be developed.
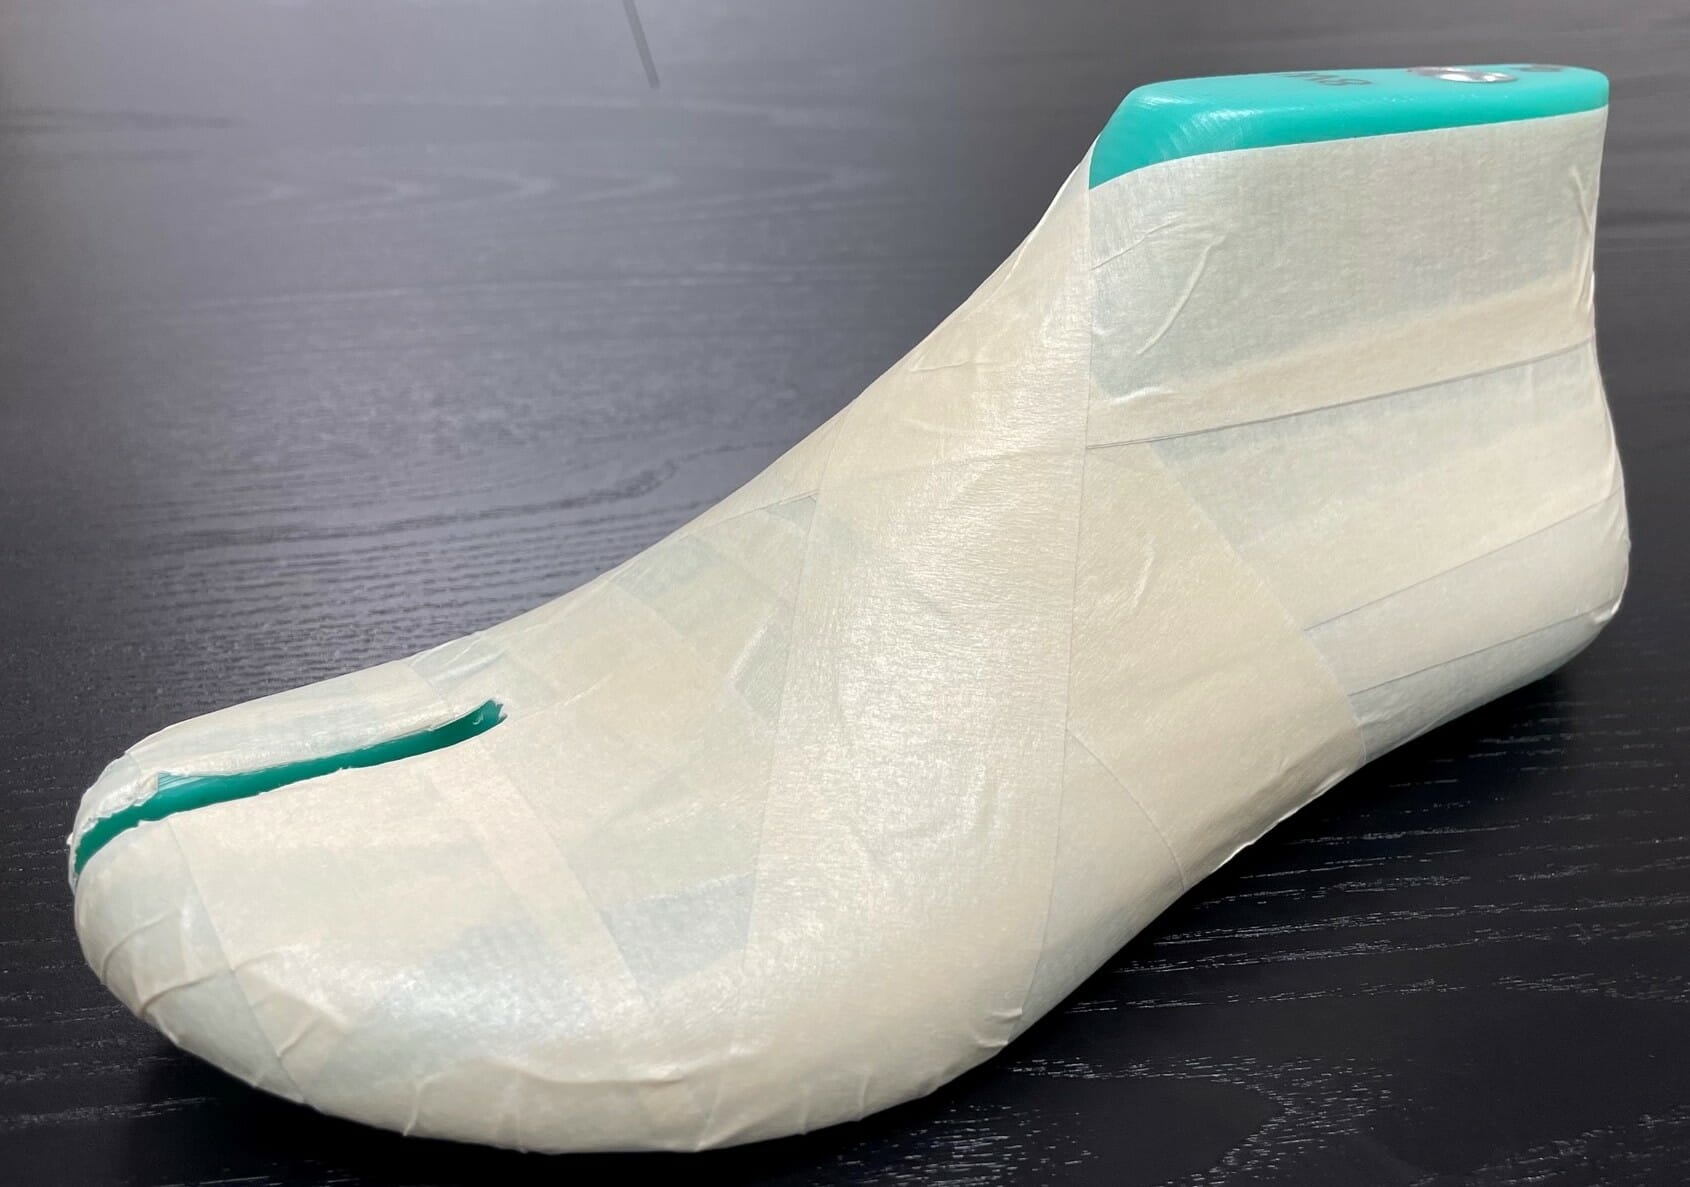
I cover the last with regular masking tape, usually 1.5 in. wide. You need to put several layers on and cover the entire area where straps will be. Smooth the tape down as much as possible to make drawing easier.
I put several reference points on the last. They are the critical points where straps are most effective. Even if you fudge the strap locations, the reference points should be sacrosanct. They are:
- The center of the inside (medial) of the ball of the foot
- The center of the outside (lateral) ball of the foot.
- The average location of the center of the ankle bones.
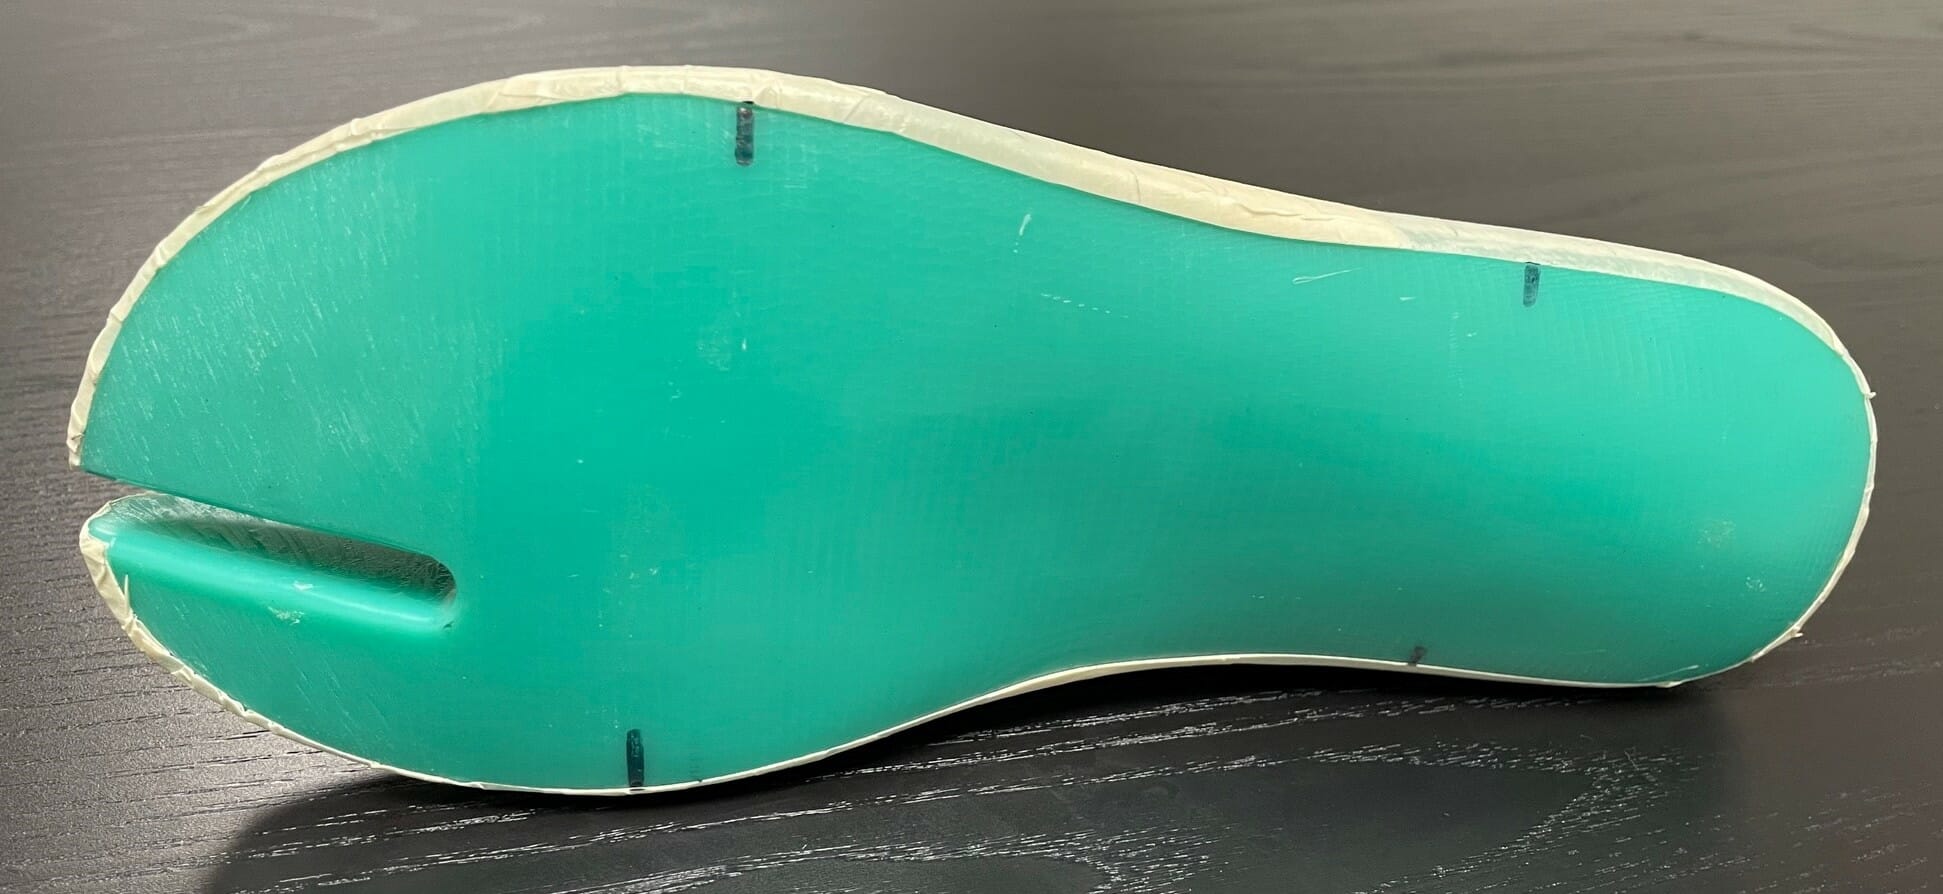
This simple step is critically important. If these points are accurate to the foot, well designed straps will hold the foot securely and comfortably. If the locations are wrong, the sandal will not be secure or will be uncomfortable. Here is the bottom of the last. I have trimmed the ragged edges of the tape and marked the important strap locations.
Now the fun part. With a pencil, I draw the straps on the taped last, including the hardware that may be necessary for adjustment. Sometimes I’ll make strips of heavy paper in various widths to help draw parallel lines, sometimes I may use webbing for the same purpose. In this design some lines are parallel, some are not. Because it is a thong design with a toe post, the medial and lateral center of ball locations are less critical.
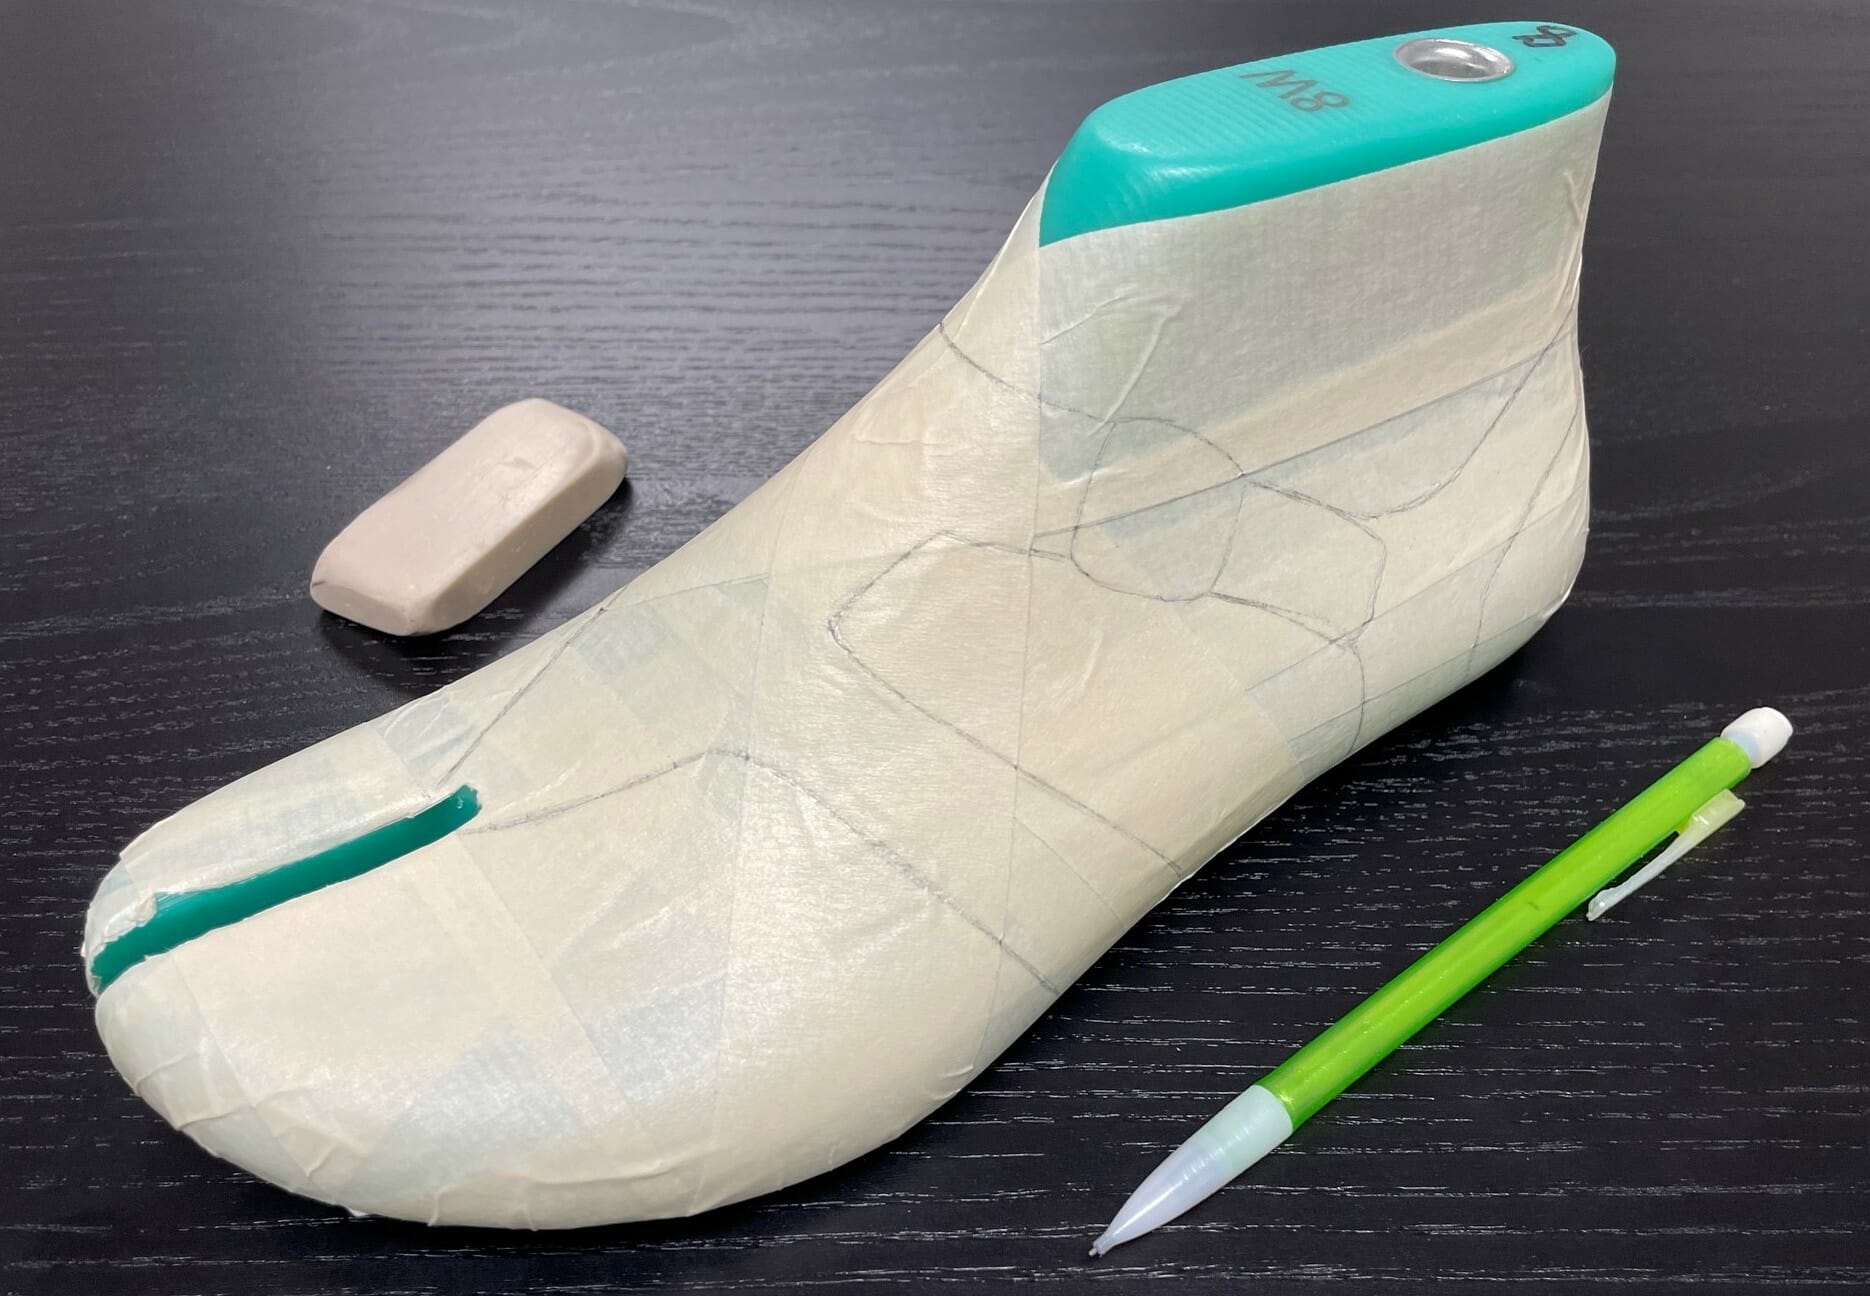
I wear out lots of erasers.
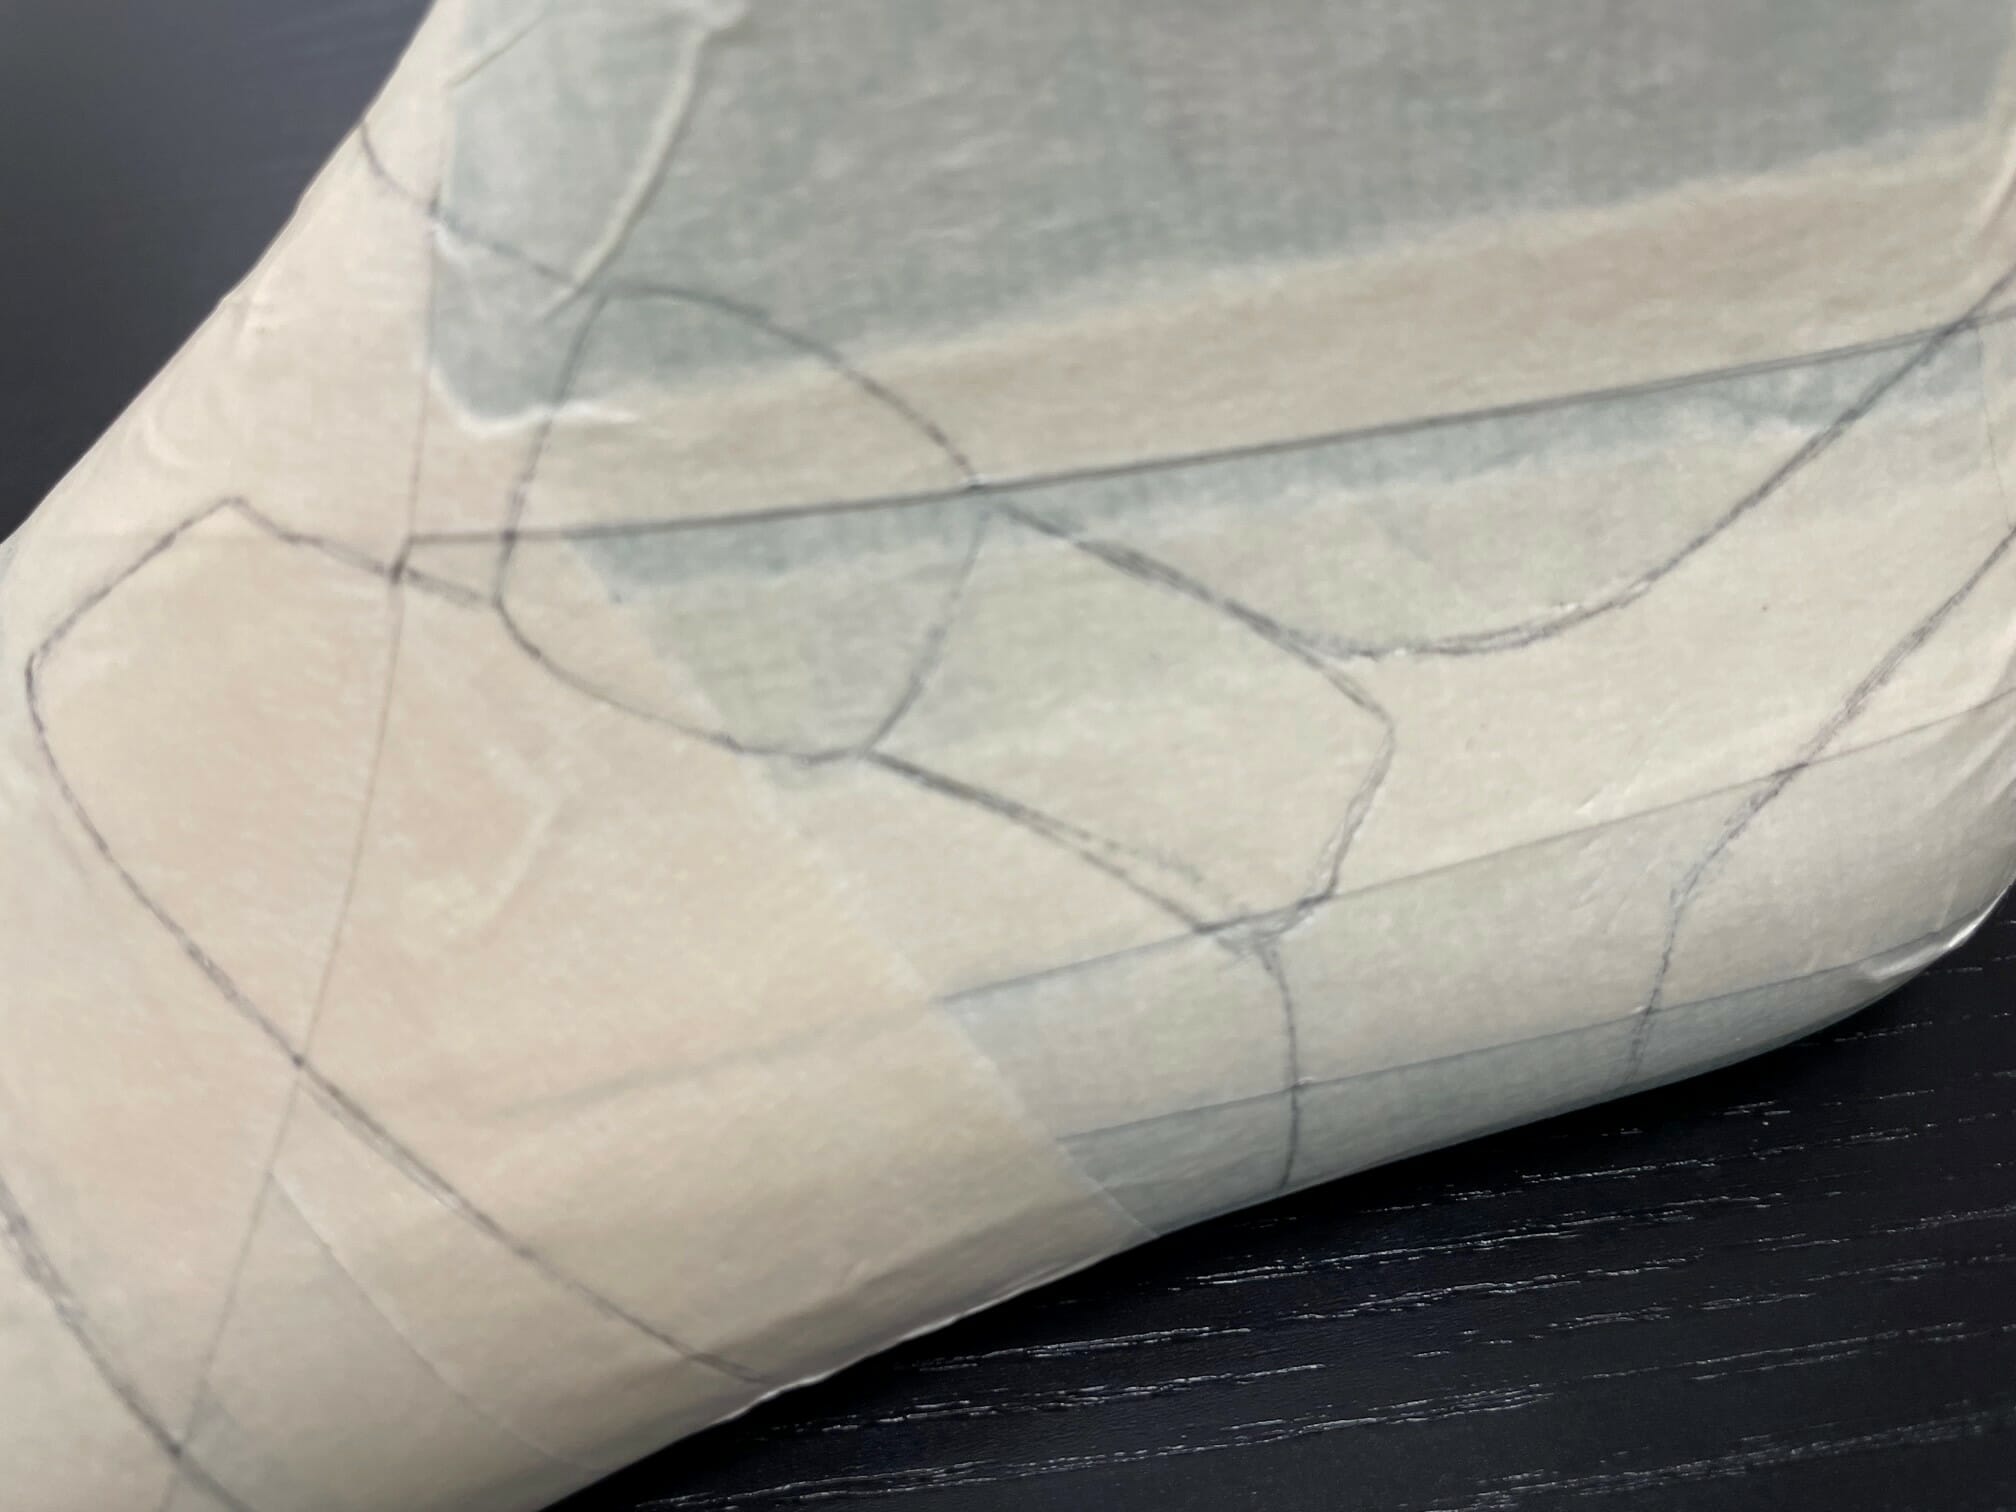
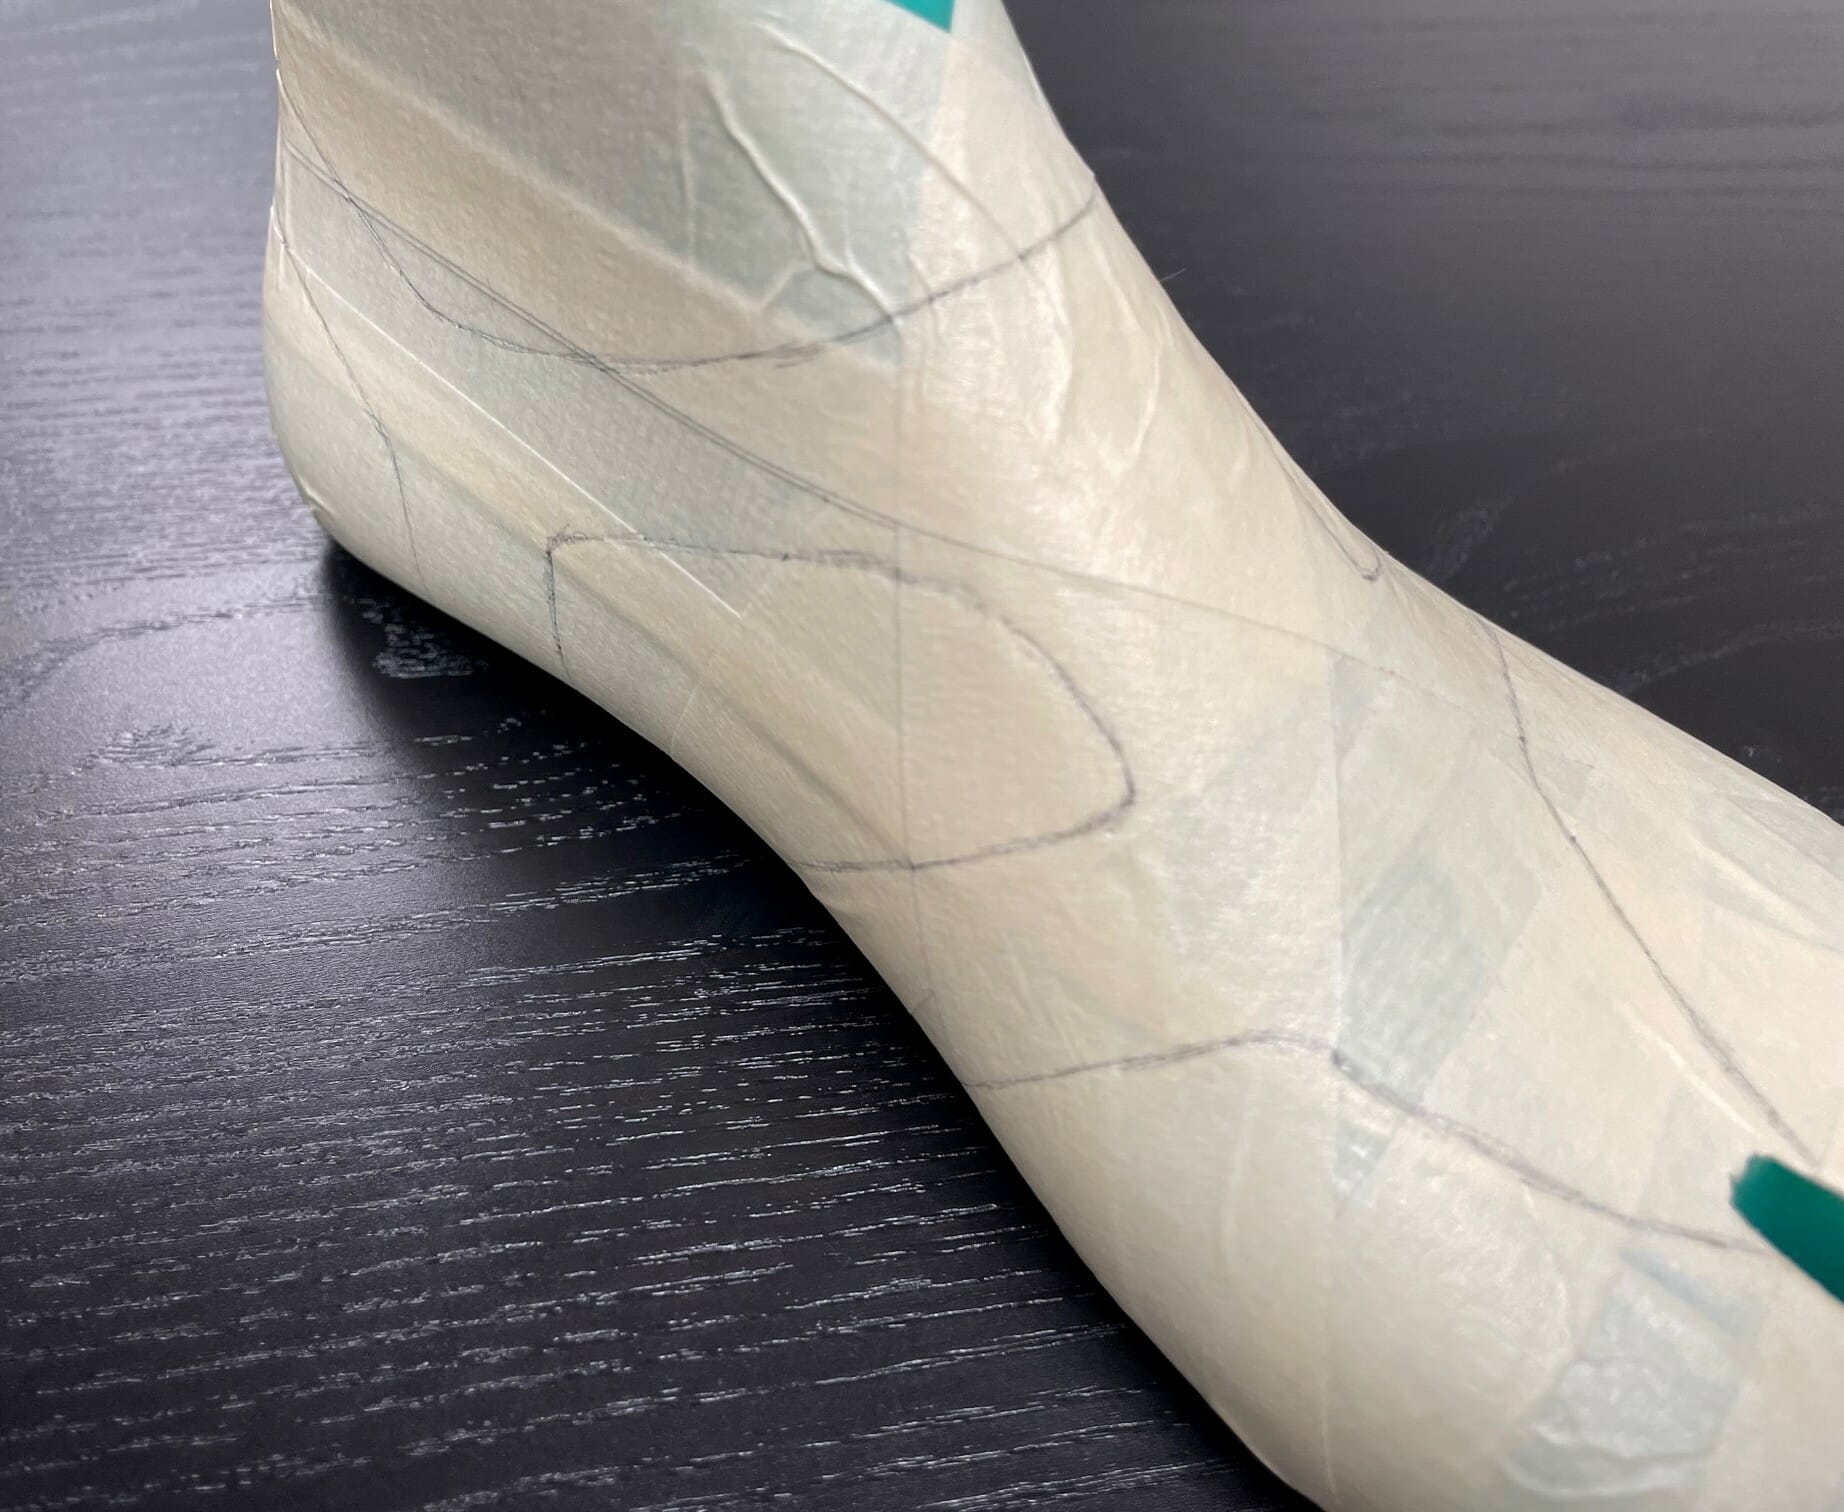
When I have a design that I like, I put it aside, at least overnight to get a look with fresh eyes. When I know that there is nothing left to add or take away, I retrace my final lines with a black marker to make it pop.
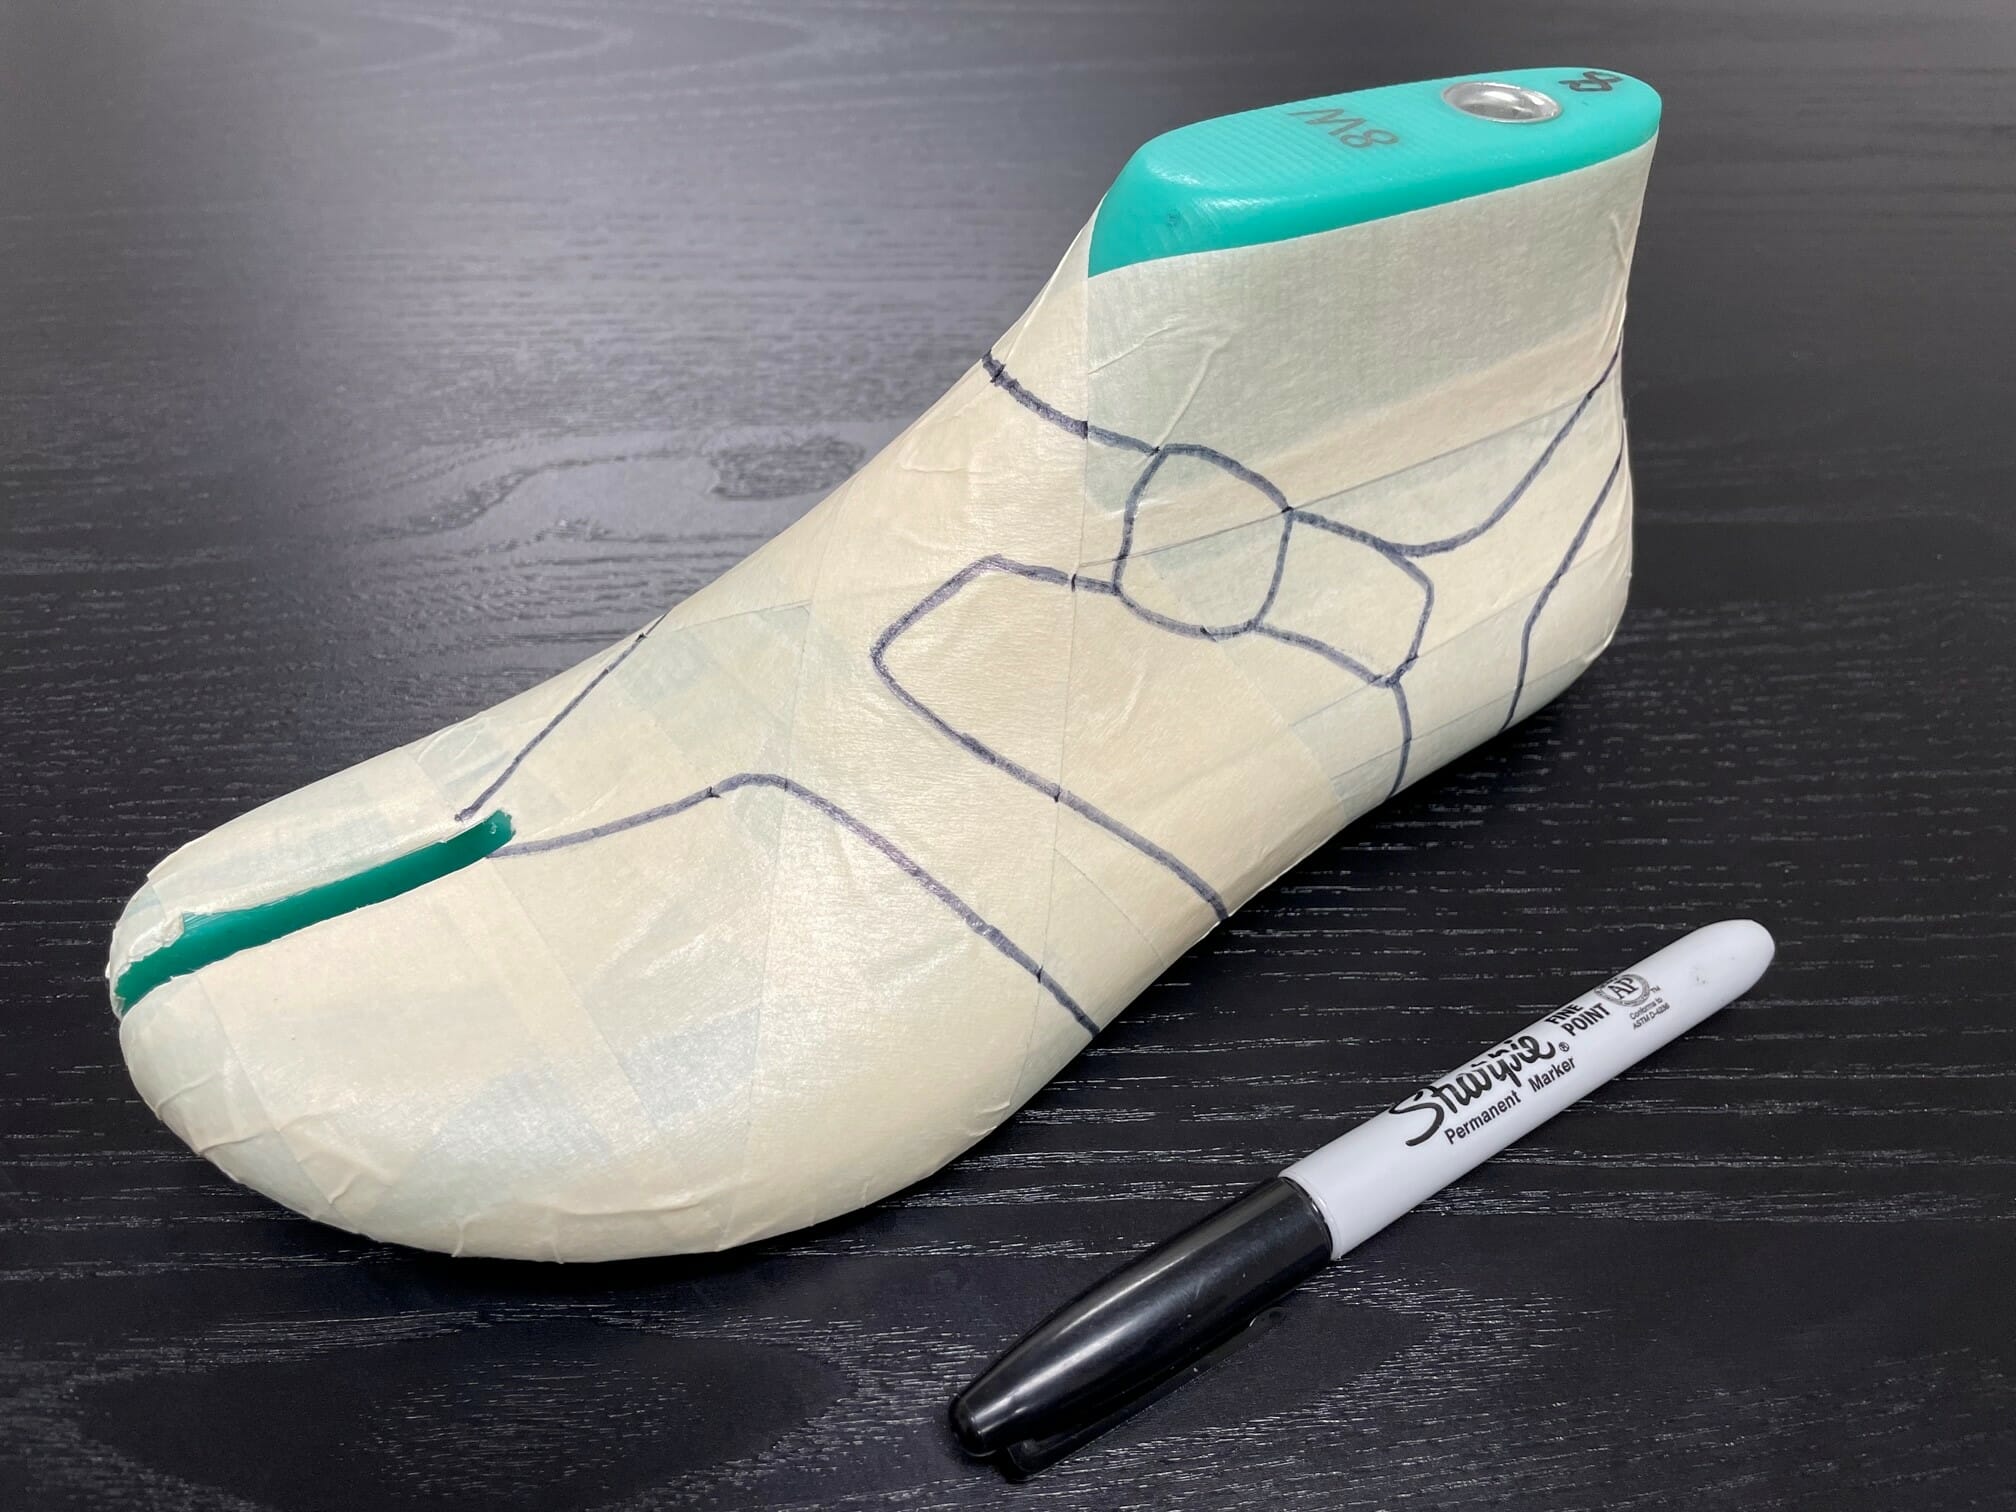
I have worked with talented, well respected footwear designers who draw in 2D on the computer. They create beautiful renderings that are enticingly beautiful. Way more compelling than black marker lines on masking tape. The renderings are great to look at texture and color, but if the basic design is wrong, the sandal will never fit or function well.
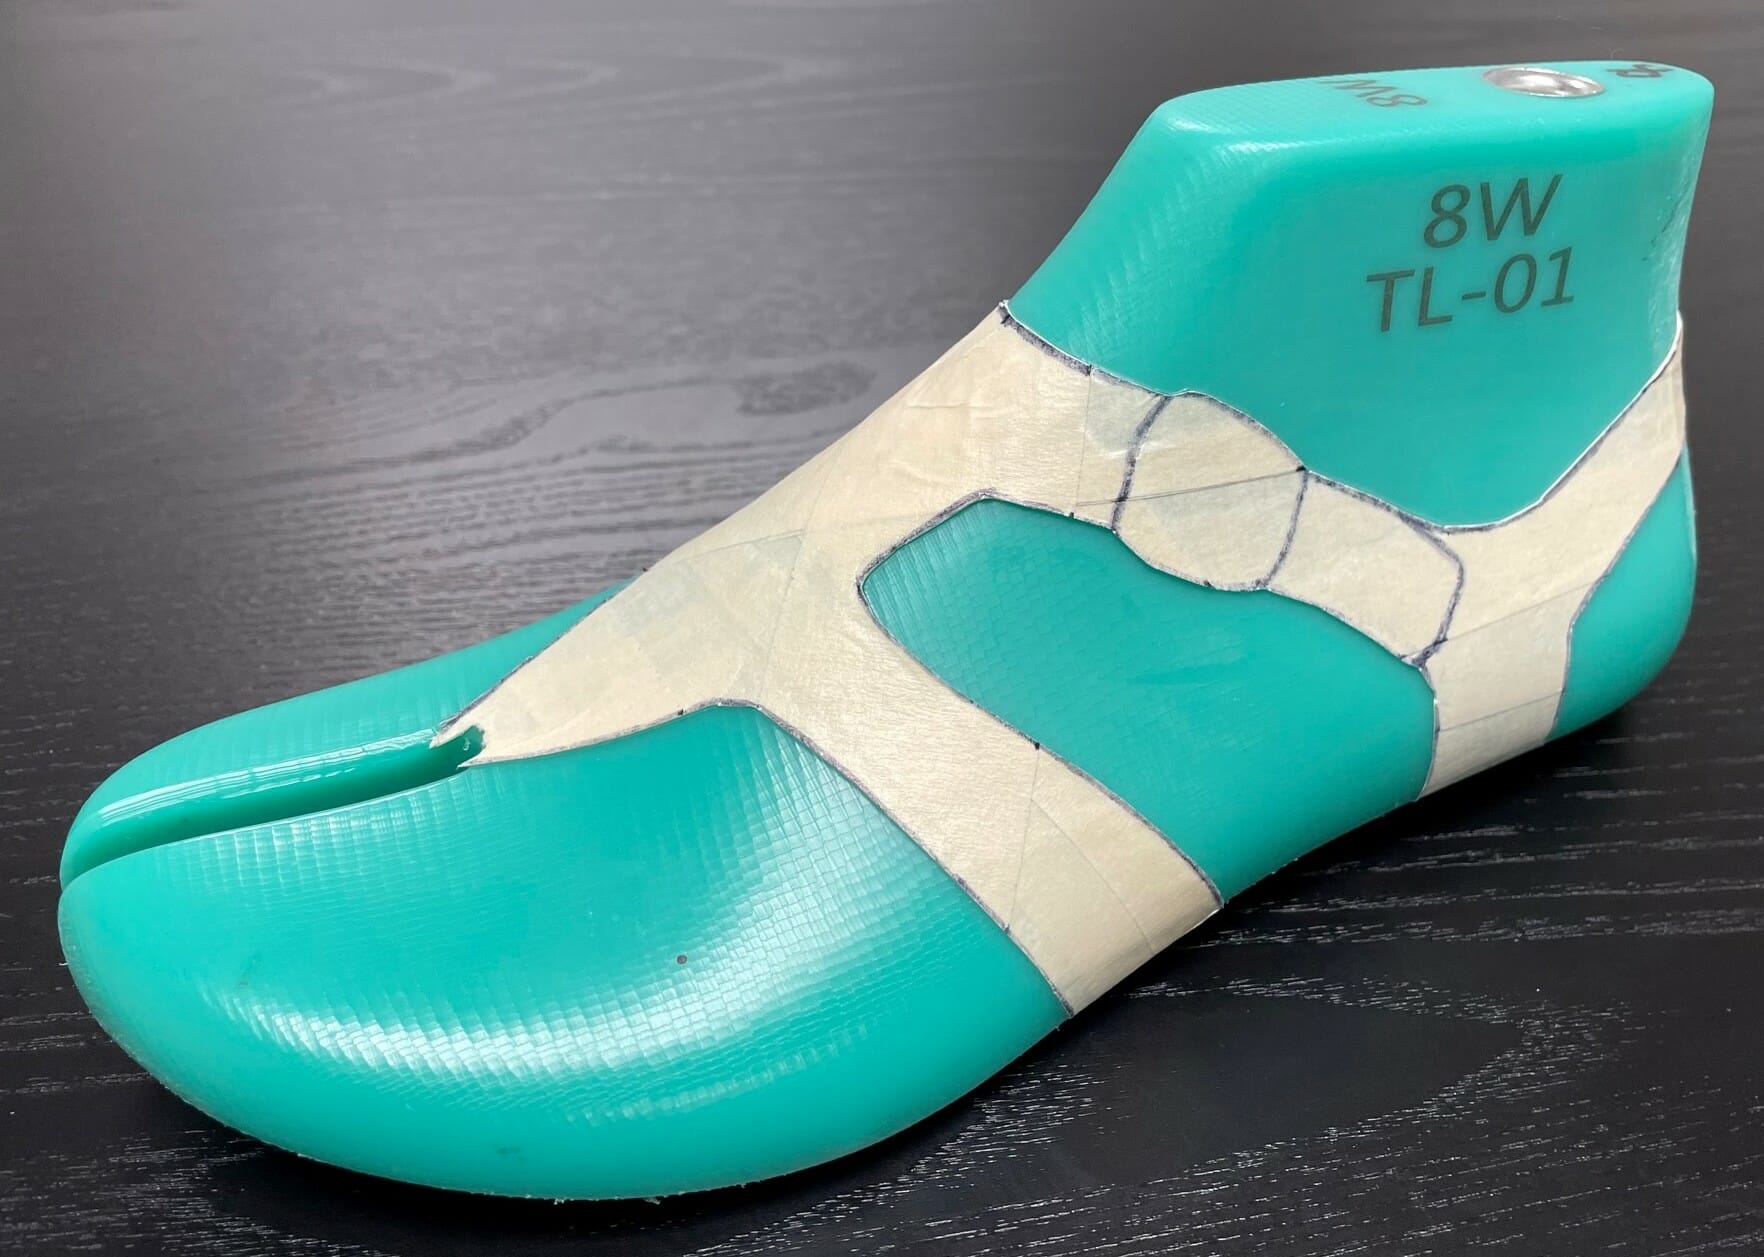
From the 3D last drawing, there are several ways to get to the first prototypes, depending on the materials and construction used to create them. If you are building the sample by hand, it is easy to score the tape on the last with a sharp blade to reveal your design in starker contrast.
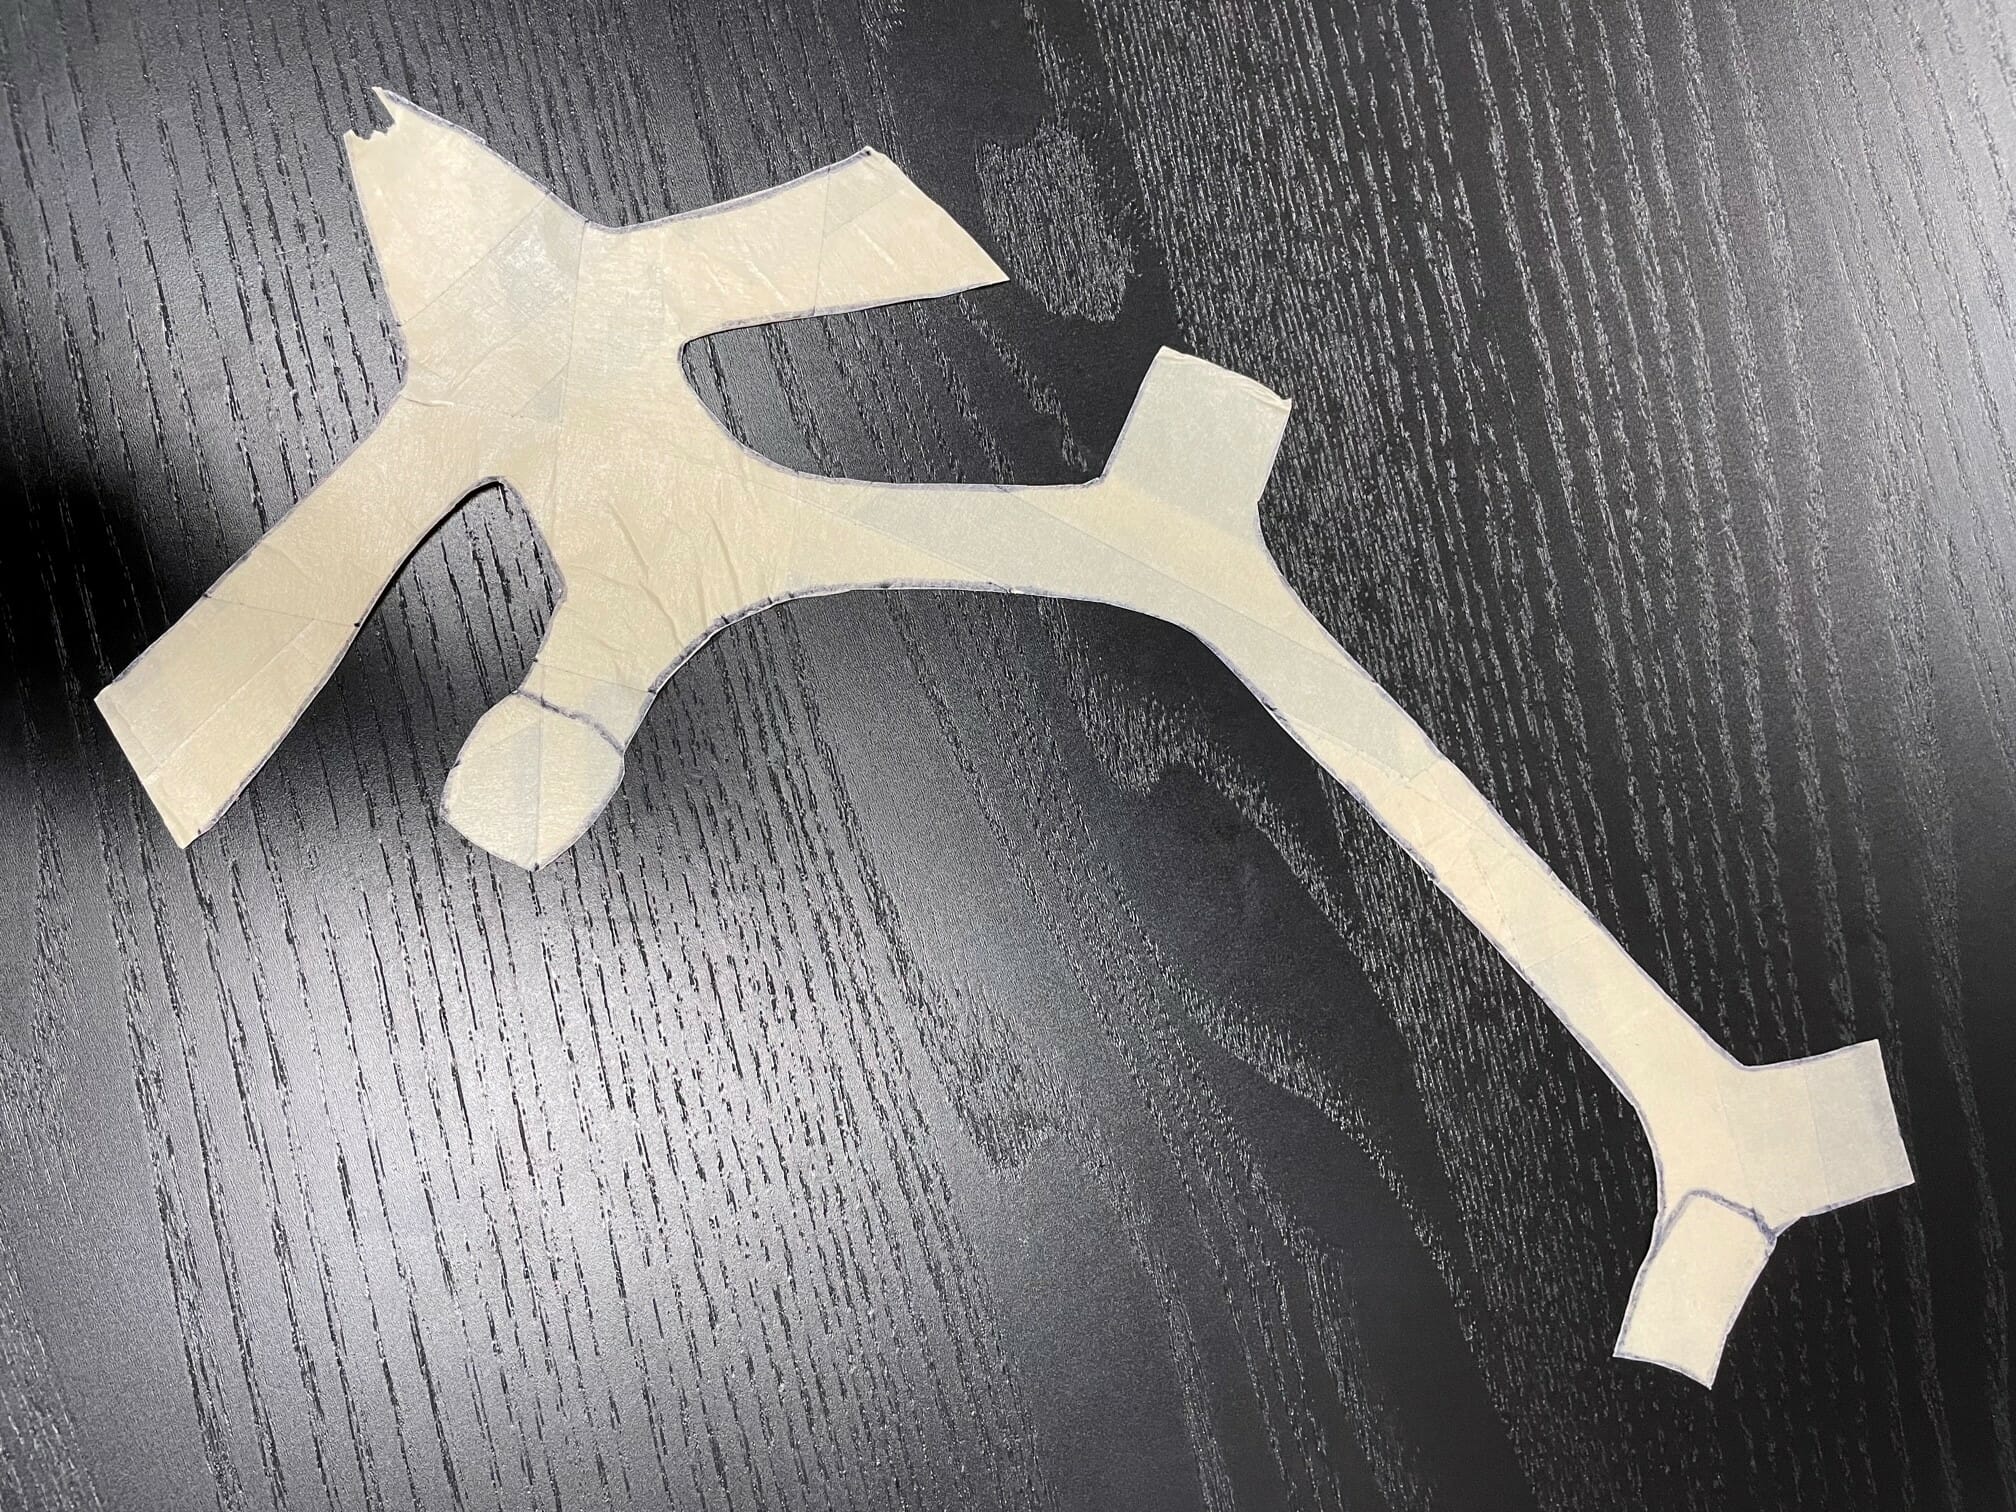
If you then remove the tape, your upper pattern is in your hand!
If you are working with a factory, the taped last can be sent for them to make patterns from. If the factory you are working with has the same last, and you have communicated your reference points accurately, images of the taped last or a video overview of the taped last may be enough for them to go ahead with samples.
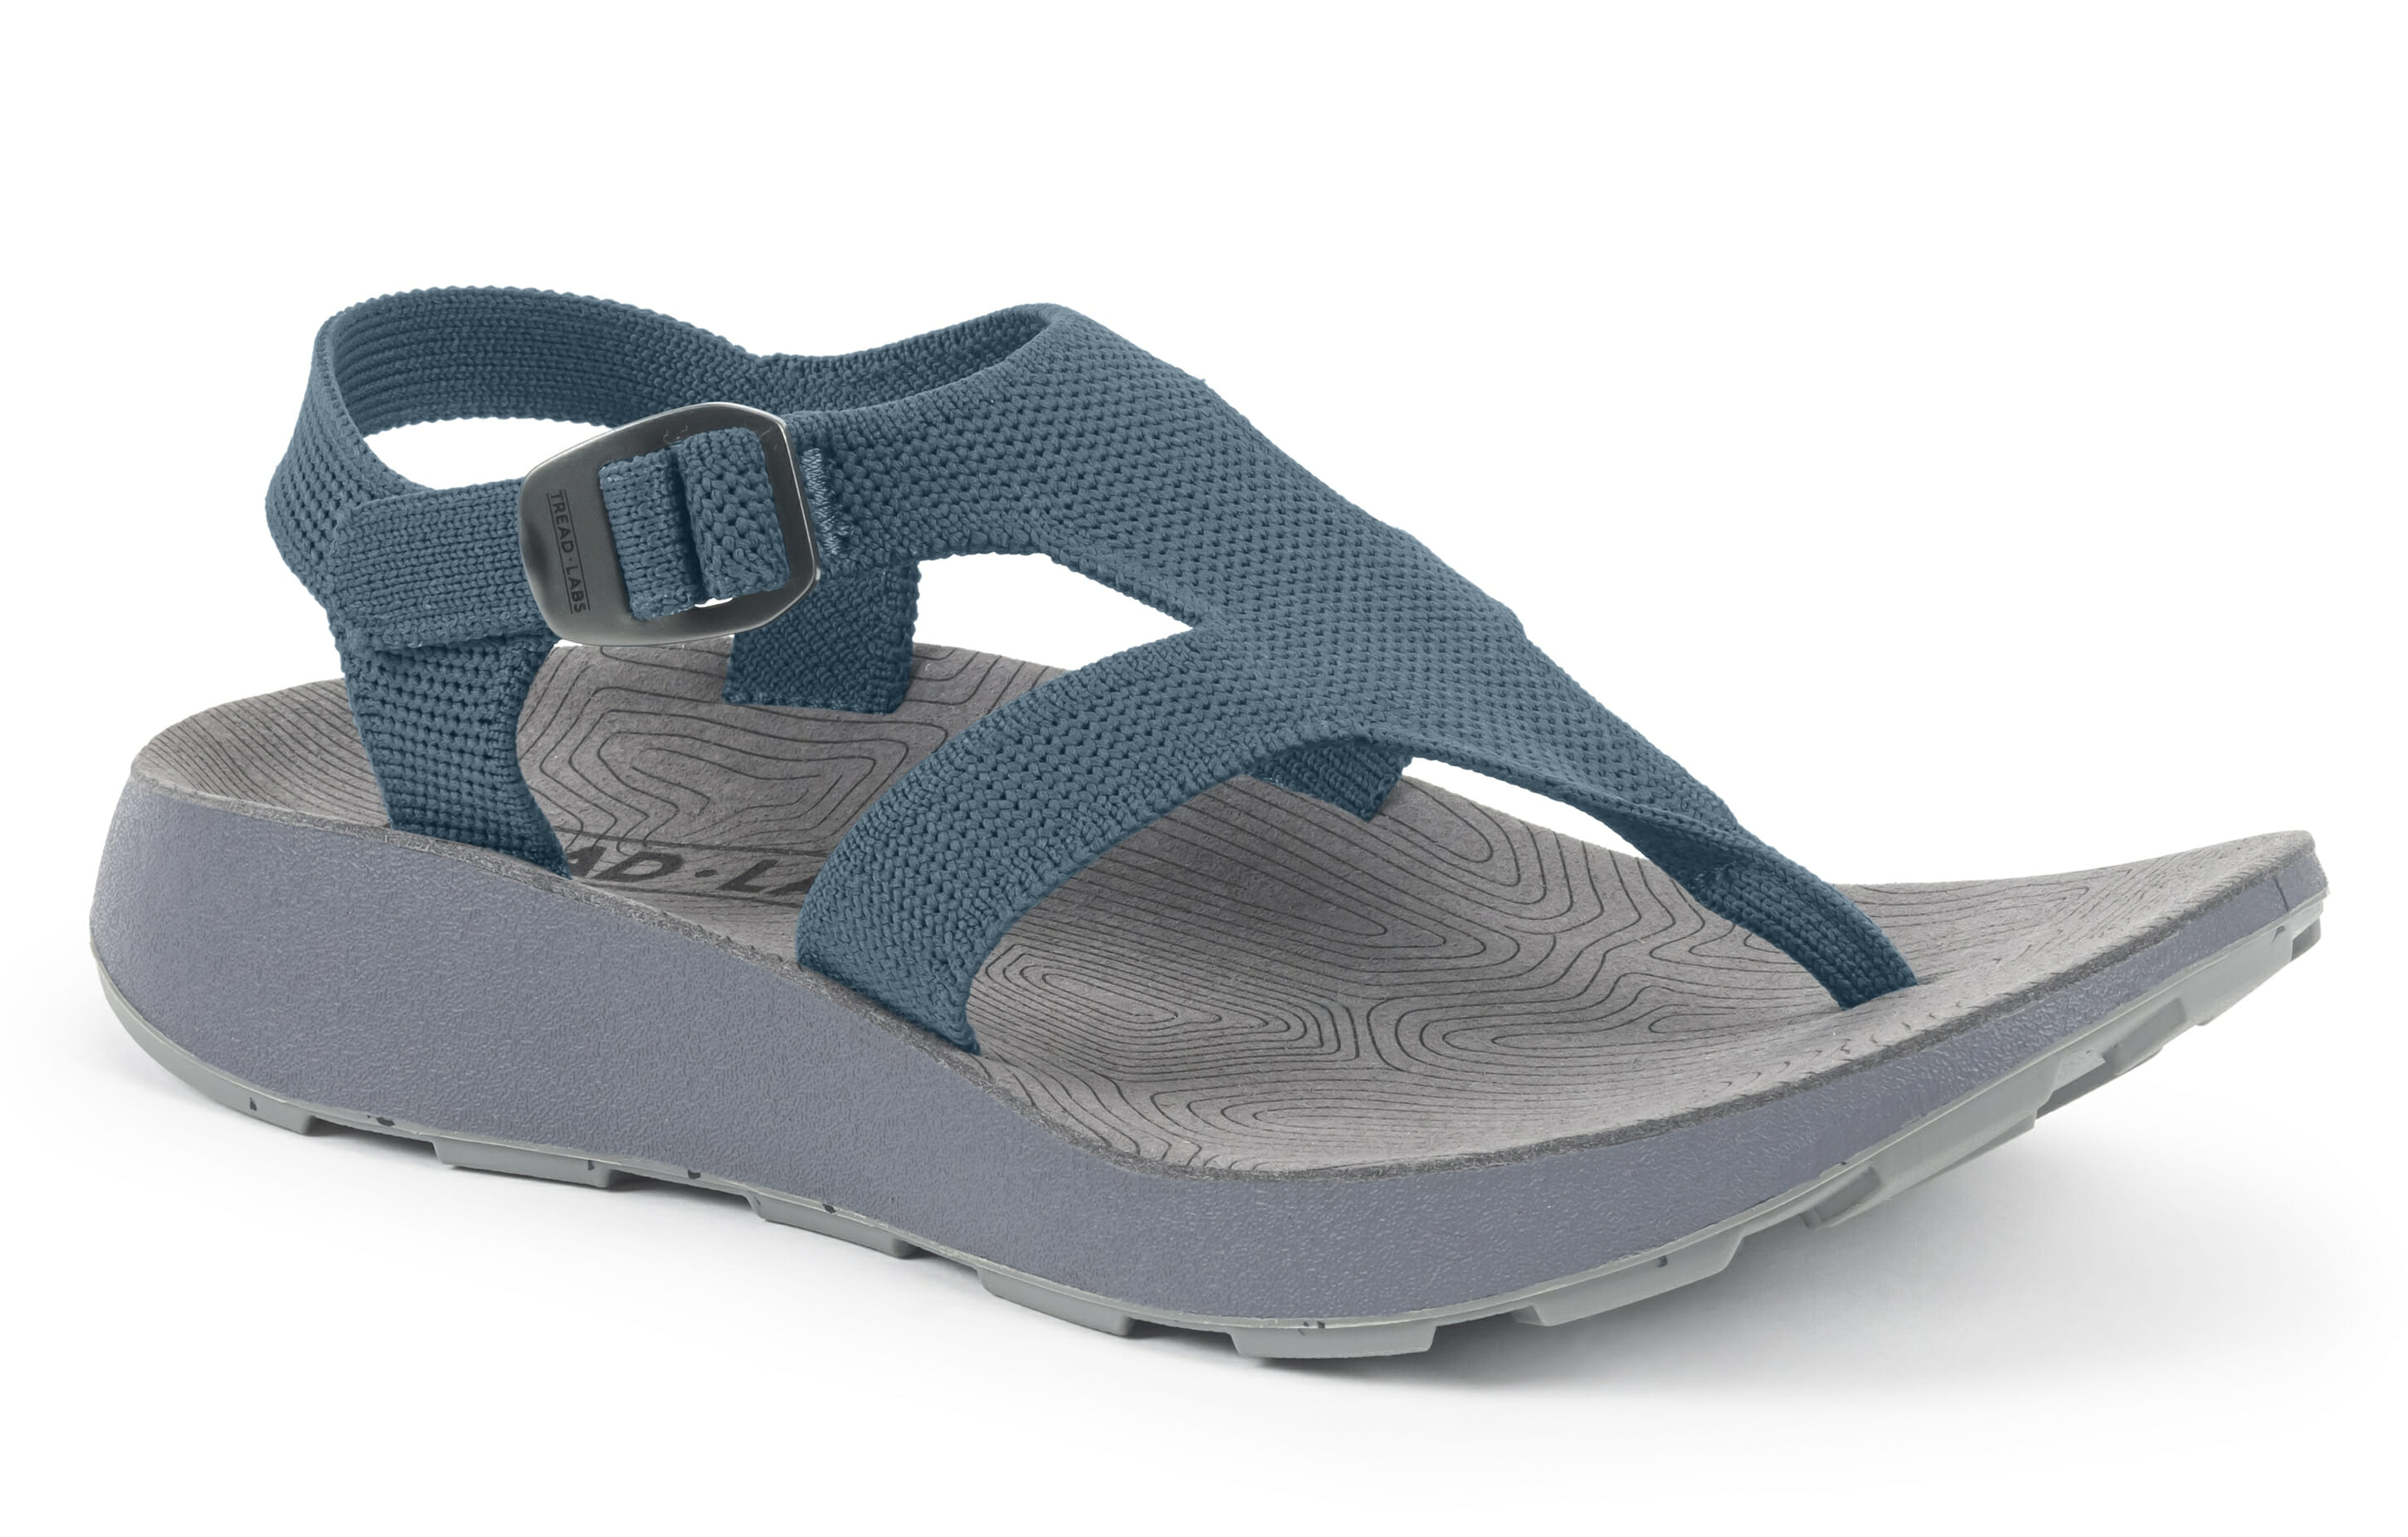
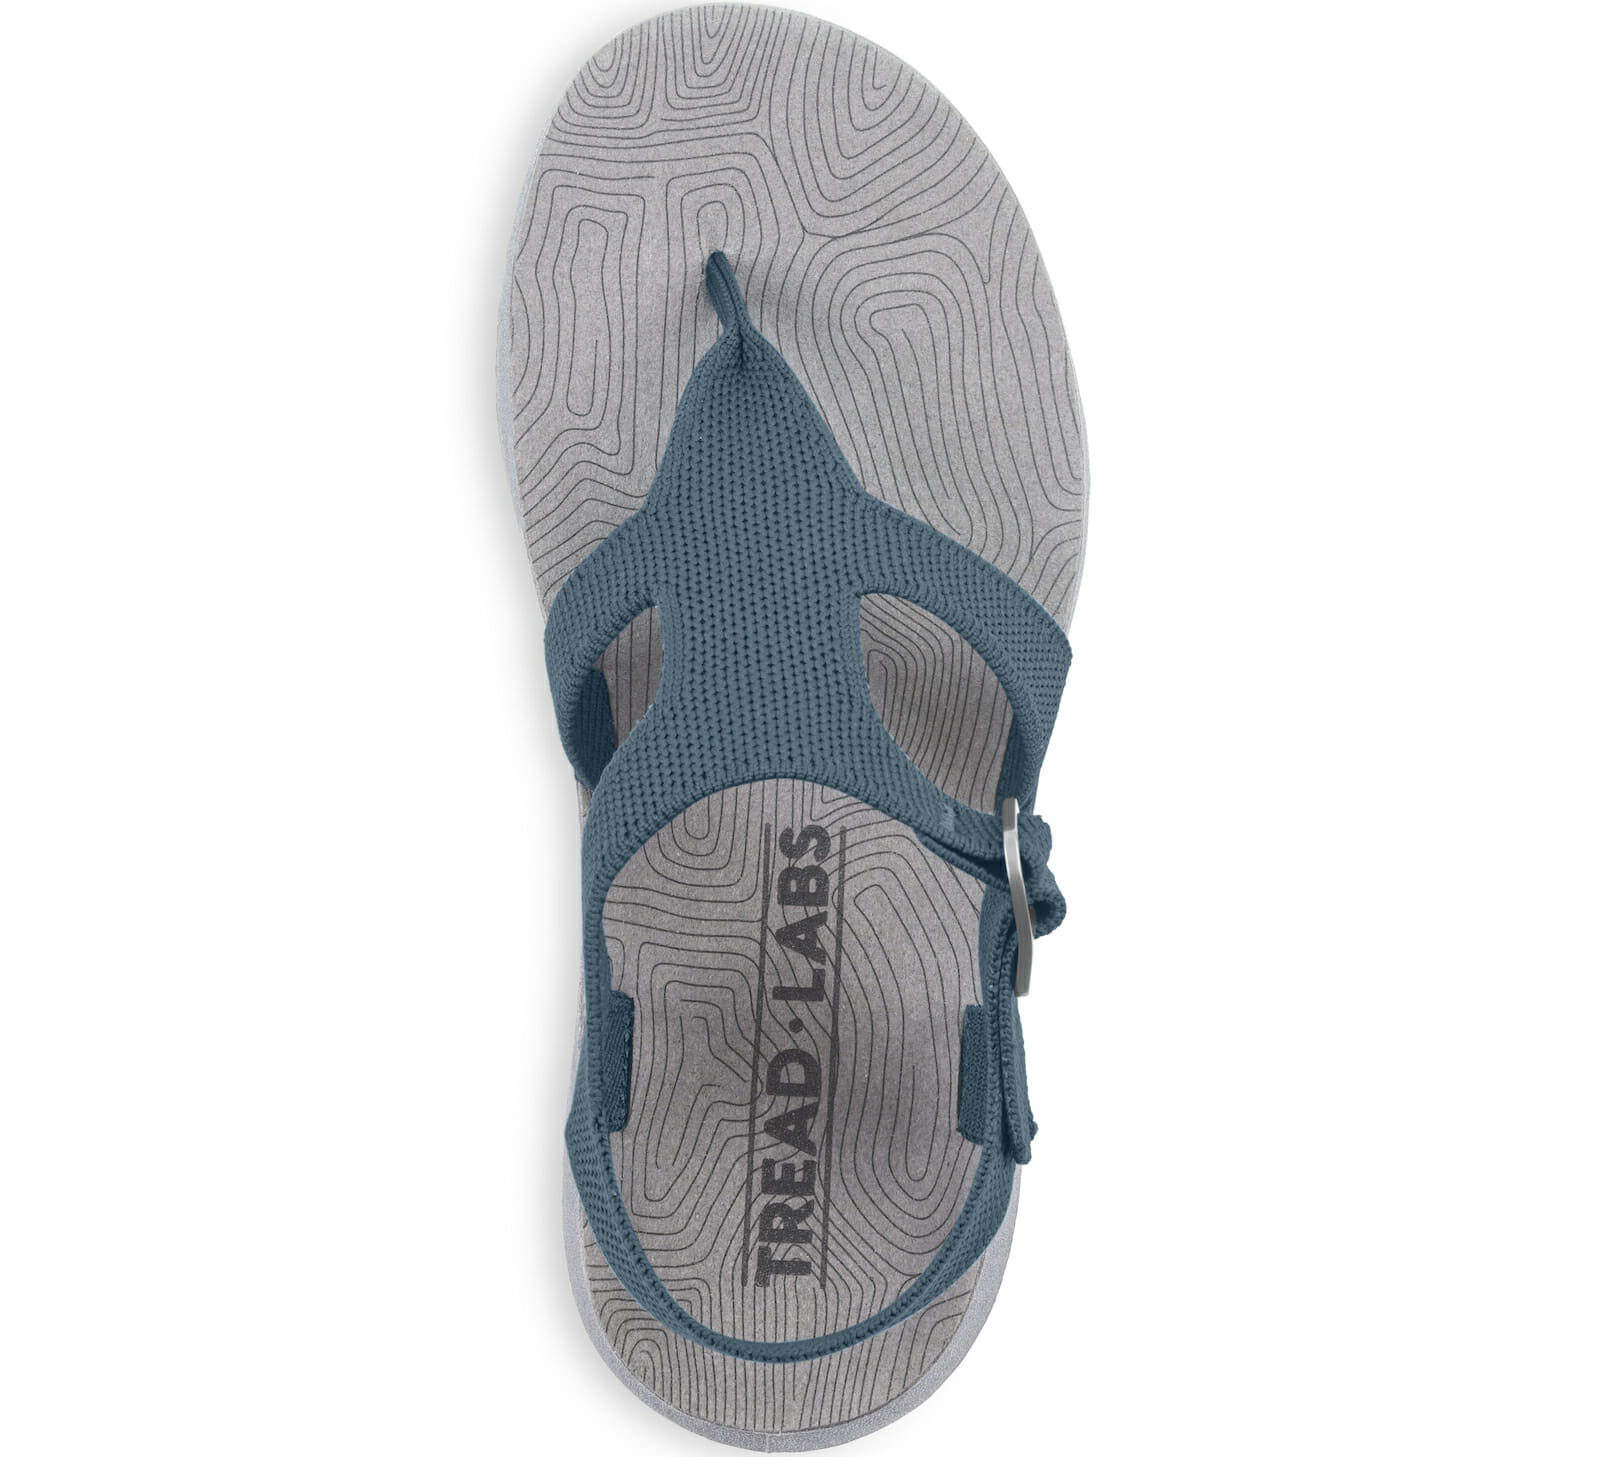
Here are a couple images of the finished sandal. This sandal features an ultra-light polyurethane midsole, recycled rubber outsole and 100% recycled knit upper. Footbeds are laser printed microfiber, buckles are aluminum, construction is direct attach.

Mark Paigen started making custom shoes in the late ‘70s. In the mid 80’s, as a whitewater raft guide, he made custom river sandals for his clients. In 1989, he started Chaco sandals, which he grew over a 20-year span, before selling to Wolverine Worldwide. His current company, Tread Labs, has been making semi-custom insoles for several years. The sandals pictured above will launch for men and women in summer 2022.
